
NSWERS uses OBS Studio as the tool of preference to record demonstration videos for products in a consistent manner.
Using OBS to Record
These steps assume you have followed the OBS Install and Setup instructions below.
- Launch OBS Studio.
- Ensure that the NSWRES scene is selected in the Scene Collection menu.
- Click on the PIP scene, and ensure that desktop and camera are positioned correctly and showing the desired images.
- If added, click on the Blank scene.
- Ensure that the appropriate Audio Input Capture device is selected (Double click on Sources -> Audio Input Capture)
- Click on Start Recording in the Controls panel.
- Select Opening in Scenes. Allow animation to finish playing.
- Click on PIP in Scenes. Record demonstration and voice over.
- Click on Closing in Scenes. Allow animation to finish playing.
- Click on Stop Recording in the Controls panel.
OBS Install and Setup
Use the steps below to install and setup OBS for this use.
- Install OBS. The easiest way is to visit this page: https://obsproject.com/ and follow the directions for your operating system.
- Download the most NSWERS_OBS_4_2026.zip files from SharePoint OBS folder.
- Extract these files to a temporary location (remember this location!).
- Windows: Right Click and then Click on Extract Here.
- Launch OBS Studio on your computer.
- From the Scene Collection menu, click on Import
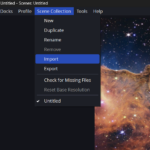
(If prompted about Automatically searching for Scene Collections, select No)
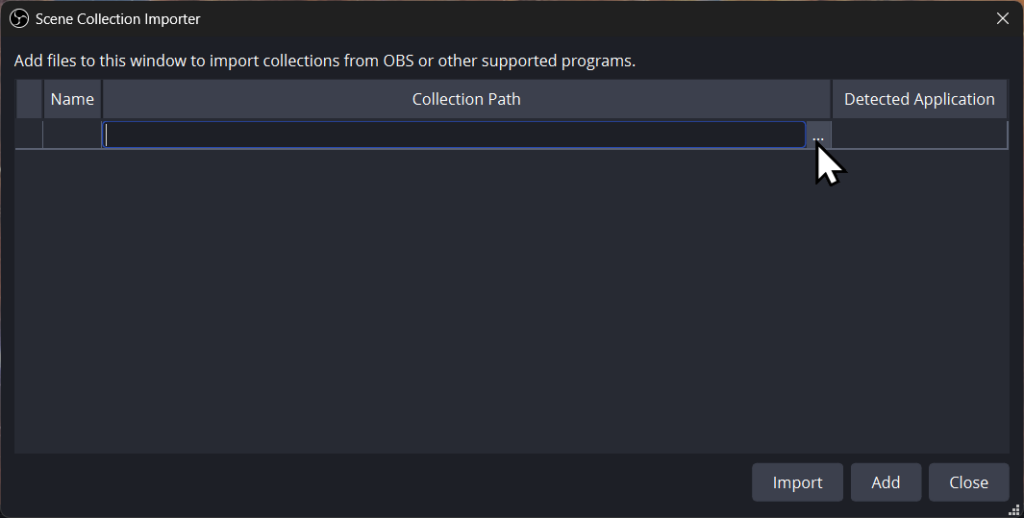
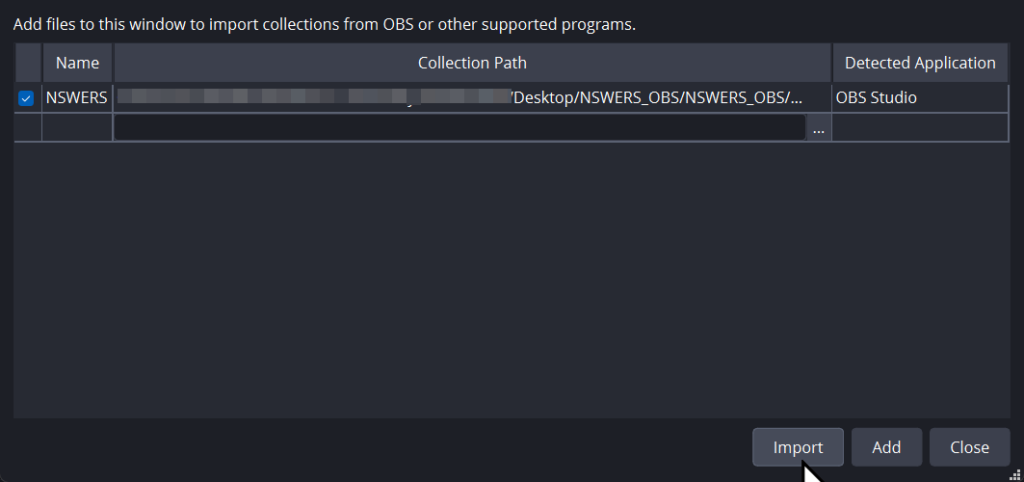
- In the Collection Path column, slick on the 3 dots (…) to find the NSWERS_OBS.json file included in those extracted in step #3. Once selected, click on Import.
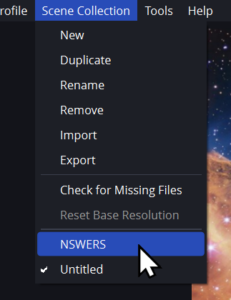
- Once again, click on Scene Collection and select the newly added NSWERS scene.
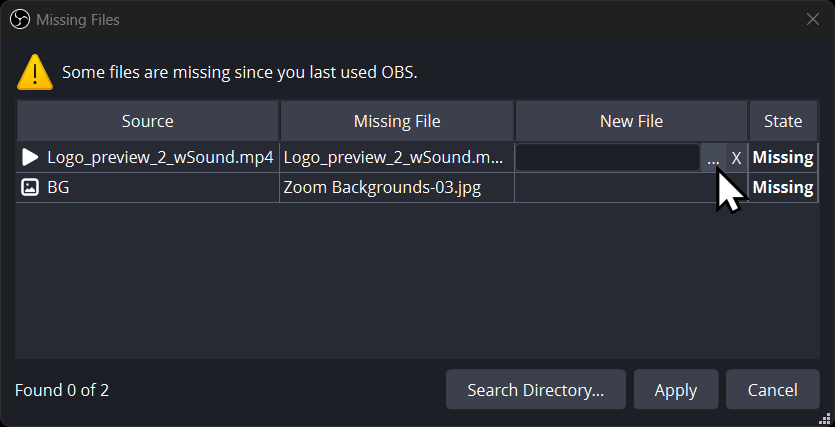
- On first selection, you will be prompted to find some missing files. These are located in the extracted folder from step #3 above. For each of the files, click on the 3 dots (…), navigate to the folder, and select the file that matches the Missing File column. After you select the first file, you may be prompted to automatically include the other missing files. In this case, it is safe to click on Yes. Once all files are located, you can click on Apply

- (optional) Add a black/blank scene to the beginning
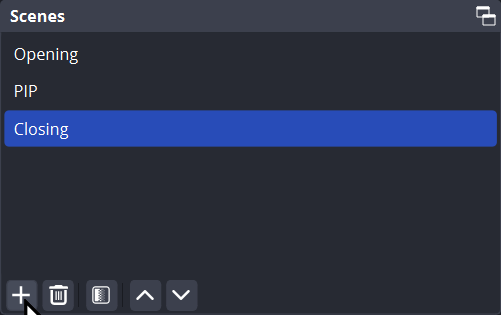
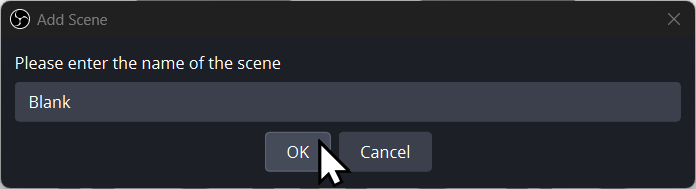
- To make recording easier, it might be desirable to create a black screen to show when beginning your recording. To do this, click on the “+” icon in the Scenes box. When prompted, change the name to Blank and click OK. Drag the new scene to the top of the scenes list.

- (optional) Replace the Display Capture Source if necessary
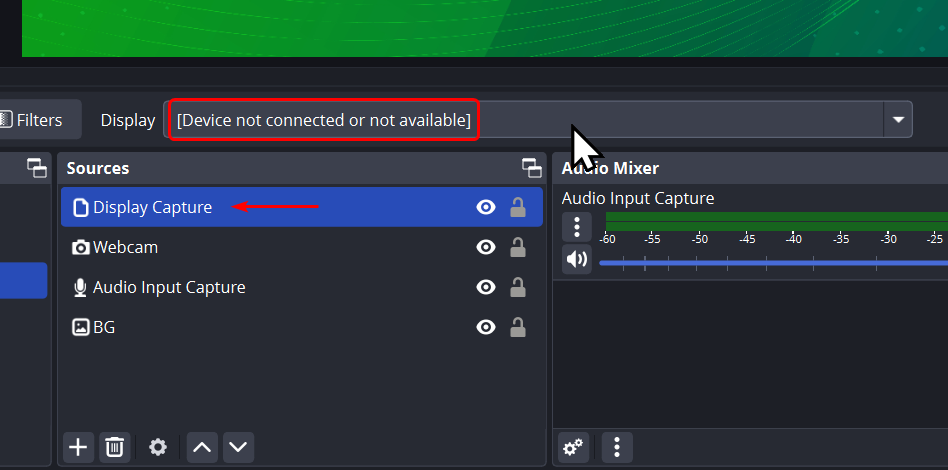
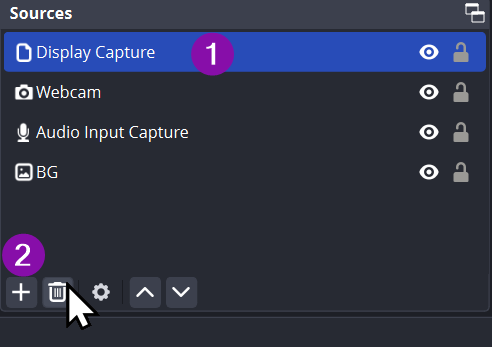
- Select Display Capture in the Sources box. If the Display drop down reads [Device not connected or not available] you will need to delete and re-add the display capture source.
- Ensure Display Capture is selected in the Sources Panel. Click on the Delete icon. If prompted, click on Yes
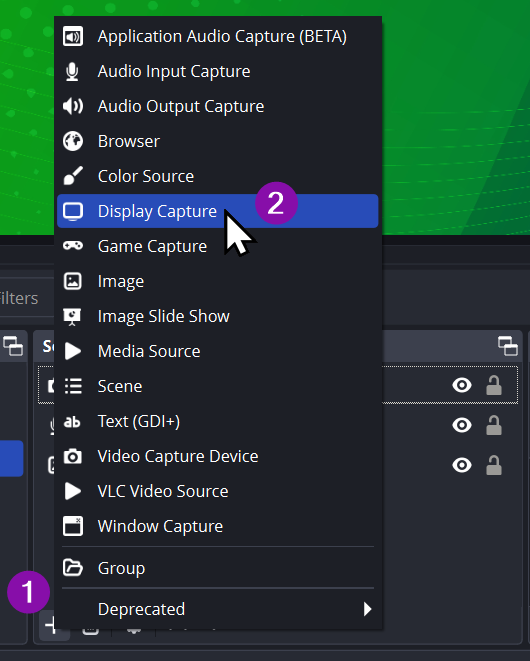
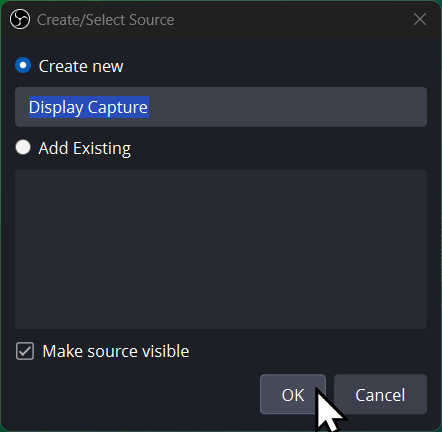
- Click on the “+” icon, and select Display Capture. Click on OK.
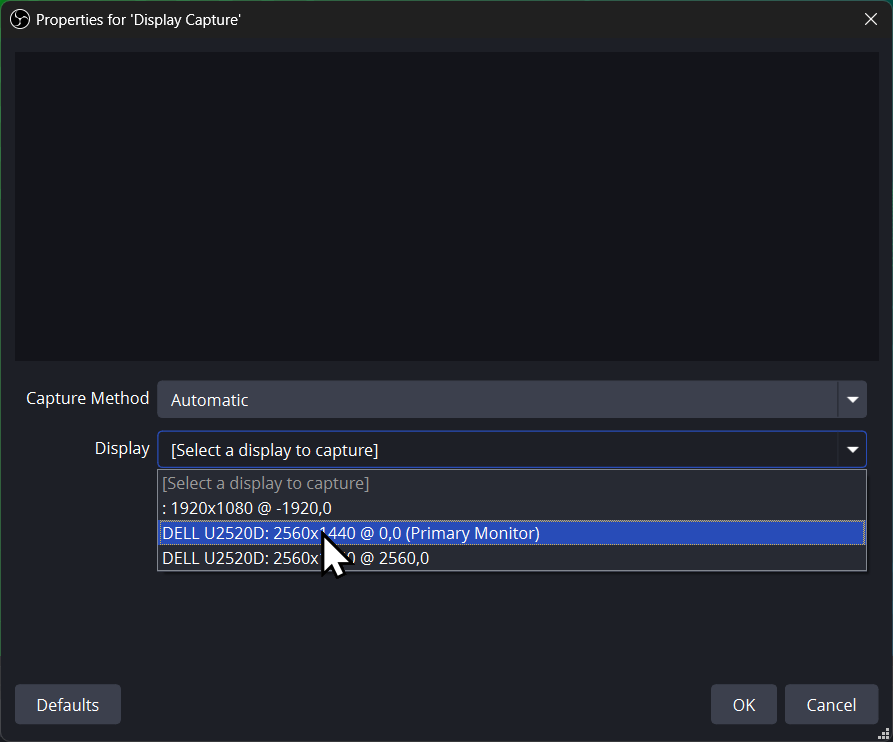
- In the Display dropdown, select the monitor screen to share.
- It will most likely be necessary to resize the desktop image to match the space available. Use the red handle in the upper left corner to resize. Click on the image of the desktop itself and drag to position as necessary. It may be necessary to repeat these steps several times to achieve the desired size and location for the desktop image.
- Select Display Capture in the Sources box. If the Display drop down reads [Device not connected or not available] you will need to delete and re-add the display capture source.
- It may be necessary to repeat a similar process for the Webcam source.
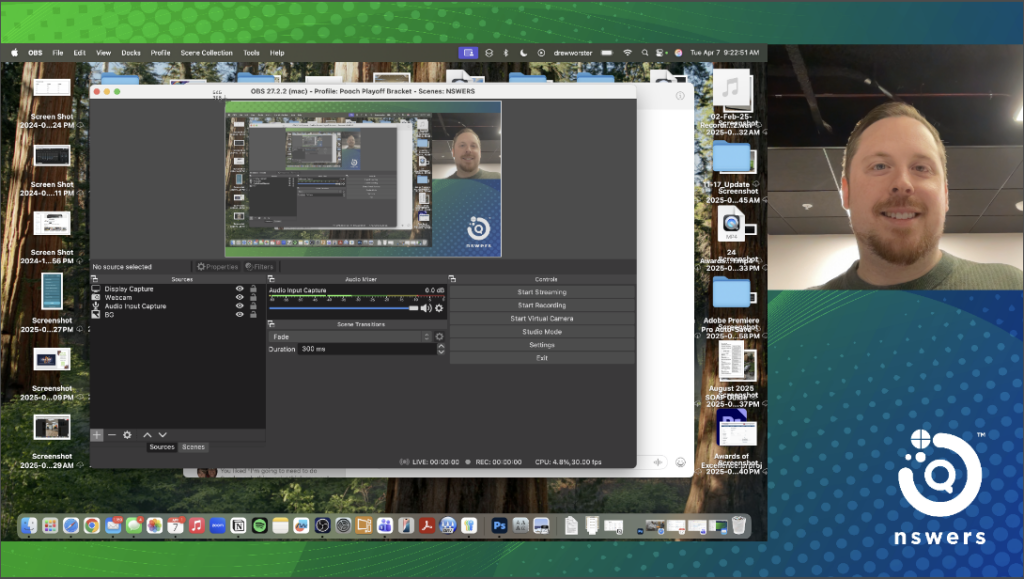
- Once complete, the layout should look similar to the example image below:
(possibly need to add requirements for screen layout, video dimensions, quality, title slides, contact info at the end, length limits??)
Leave a Reply